Guides


To enhance the security of your Figma account, enabling Two-Factor Authentication (2FA) is a must. This guide will walk you through the process of setting up 2FA using the Authenticator App.
Step By Step Guide
1
STEP 01
For iOS: Visit the App Store and search for "Authenticator App" Download and install the app.
For Android: Head to the Google Play Store, search for "Authenticator App" and install it.
2
STEP 02
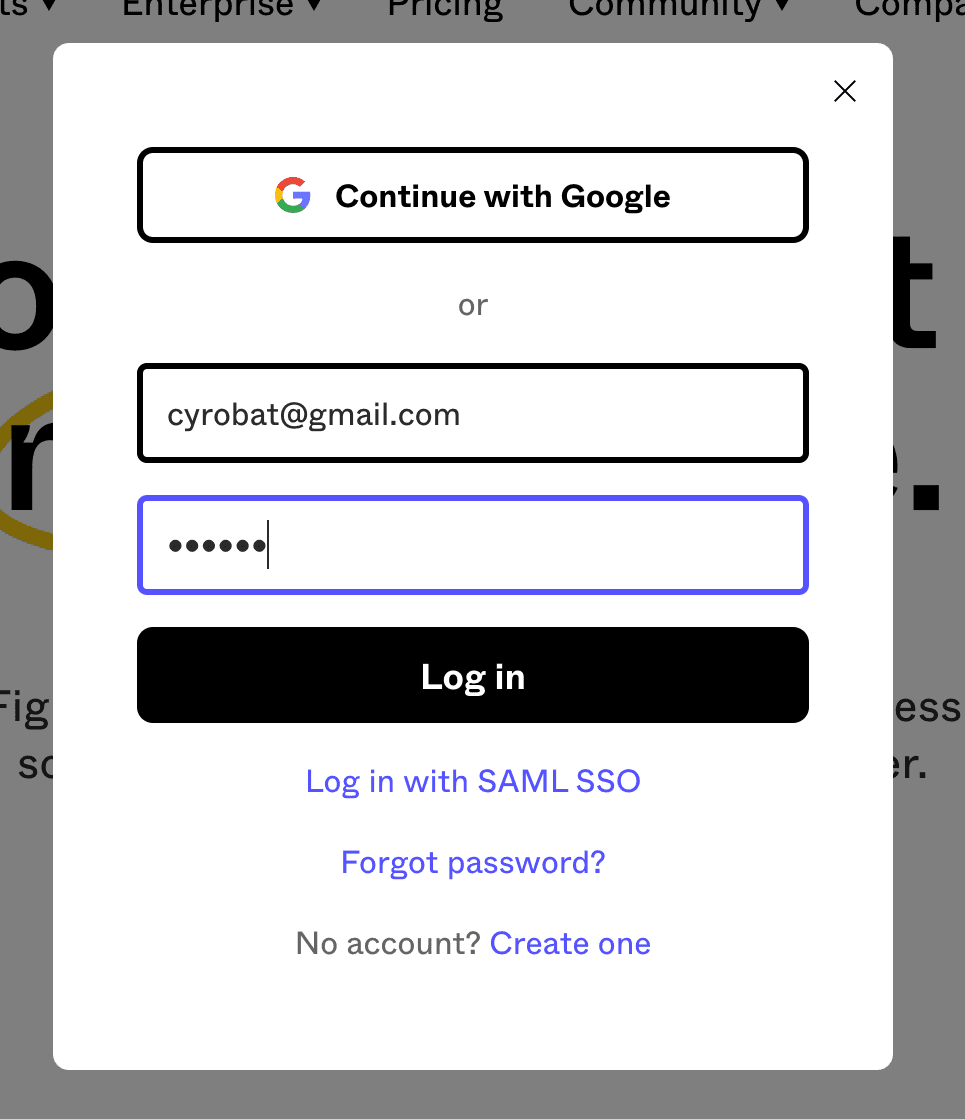
Open Figma in the file browser and log into your account.
3
STEP 03
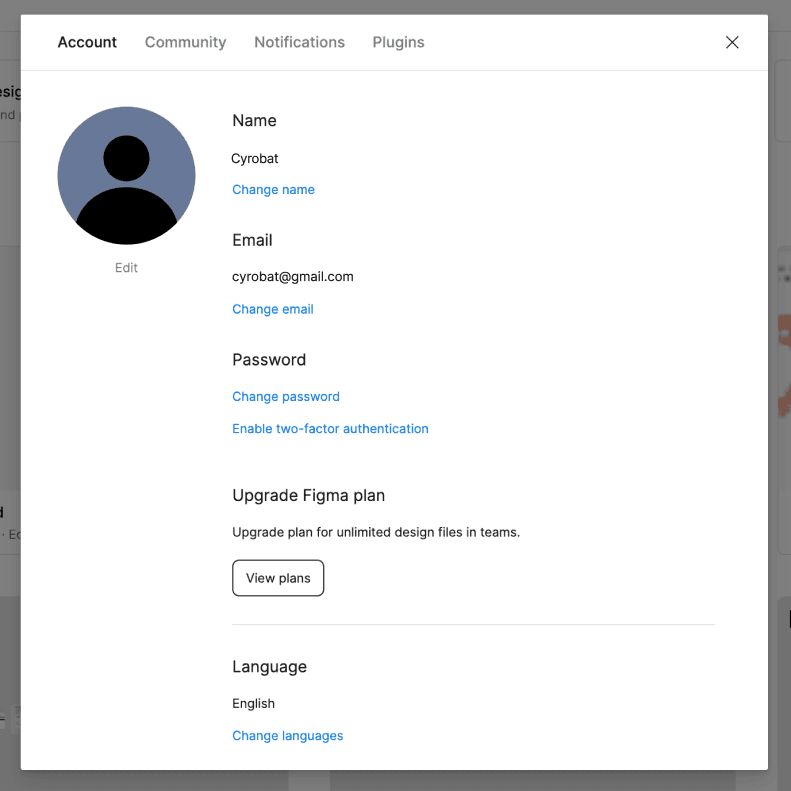
Select your avatar in the top-right corner to open the account menu. Go to the Settings module.

4
STEP 04
Select the Account tab in the Settings module.
You’ll find the Two-factor authentication section at the top of the page, under your login details.
Click the Enable two-factor authentication setting.
5
STEP 05
Enter your password to confirm your identity and click Continue.

6
STEP 06
Figma will display some links to download and install your desired authenticator.
Then click Continue.
Figma will display a unique barcode on the screen.
Scan the QR code into your app.
7
STEP 07
Open the Authenticator App and at the bottom of the screen, tap the plus (+) button to scan the code.
Your authenticator app will generate a six-digit unique code.
8
STEP 08
Enter the unique code in the field provided in the Figma account and click Verify.

9
STEP 09
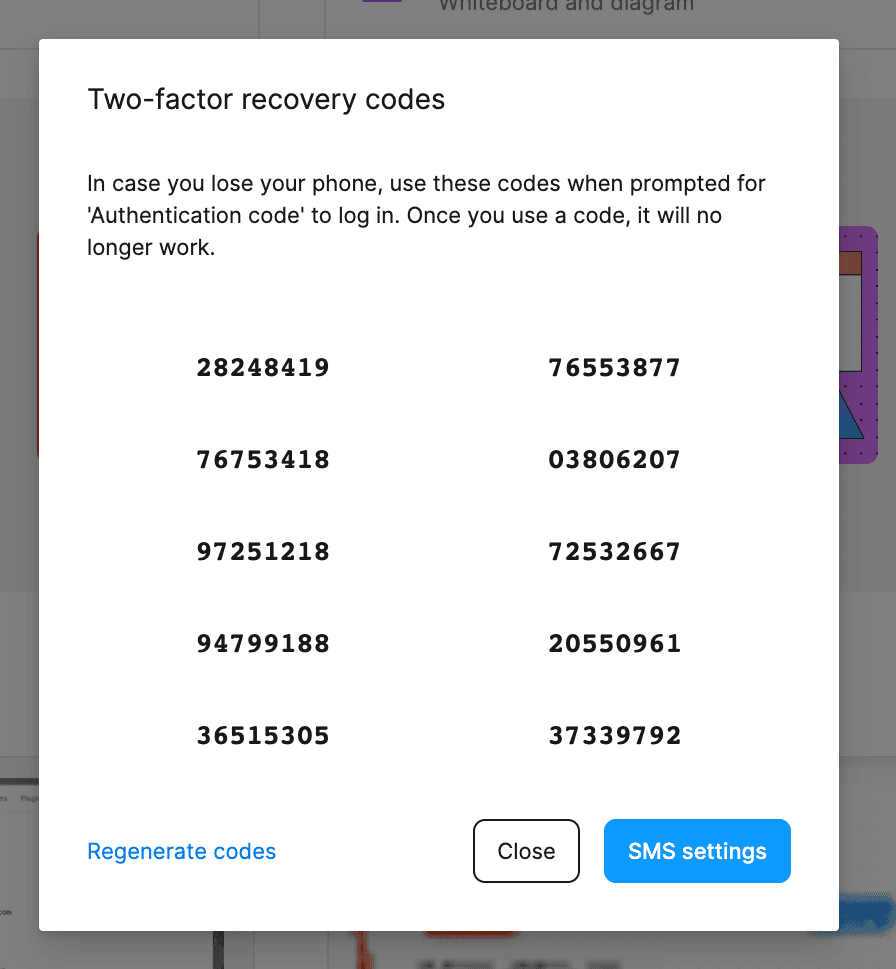
Your two-factor authentication is on!
Click Continue to receive your recovery code(s).
Figma will display a list of recovery codes on the screen.
We recommend saving a copy of these somewhere safe.