Guides


To enhance the security of your Evernote account, enabling Two-Factor Authentication (2FA) is a must. This guide will walk you through the process of setting up 2FA using the Authenticator App.
Step By Step Guide
1
STEP 01
For iOS: Visit the App Store and search for "Authenticator App" Download and install the app.
For Android: Head to the Google Play Store, search for "Authenticator App" and install it.
2
STEP 02
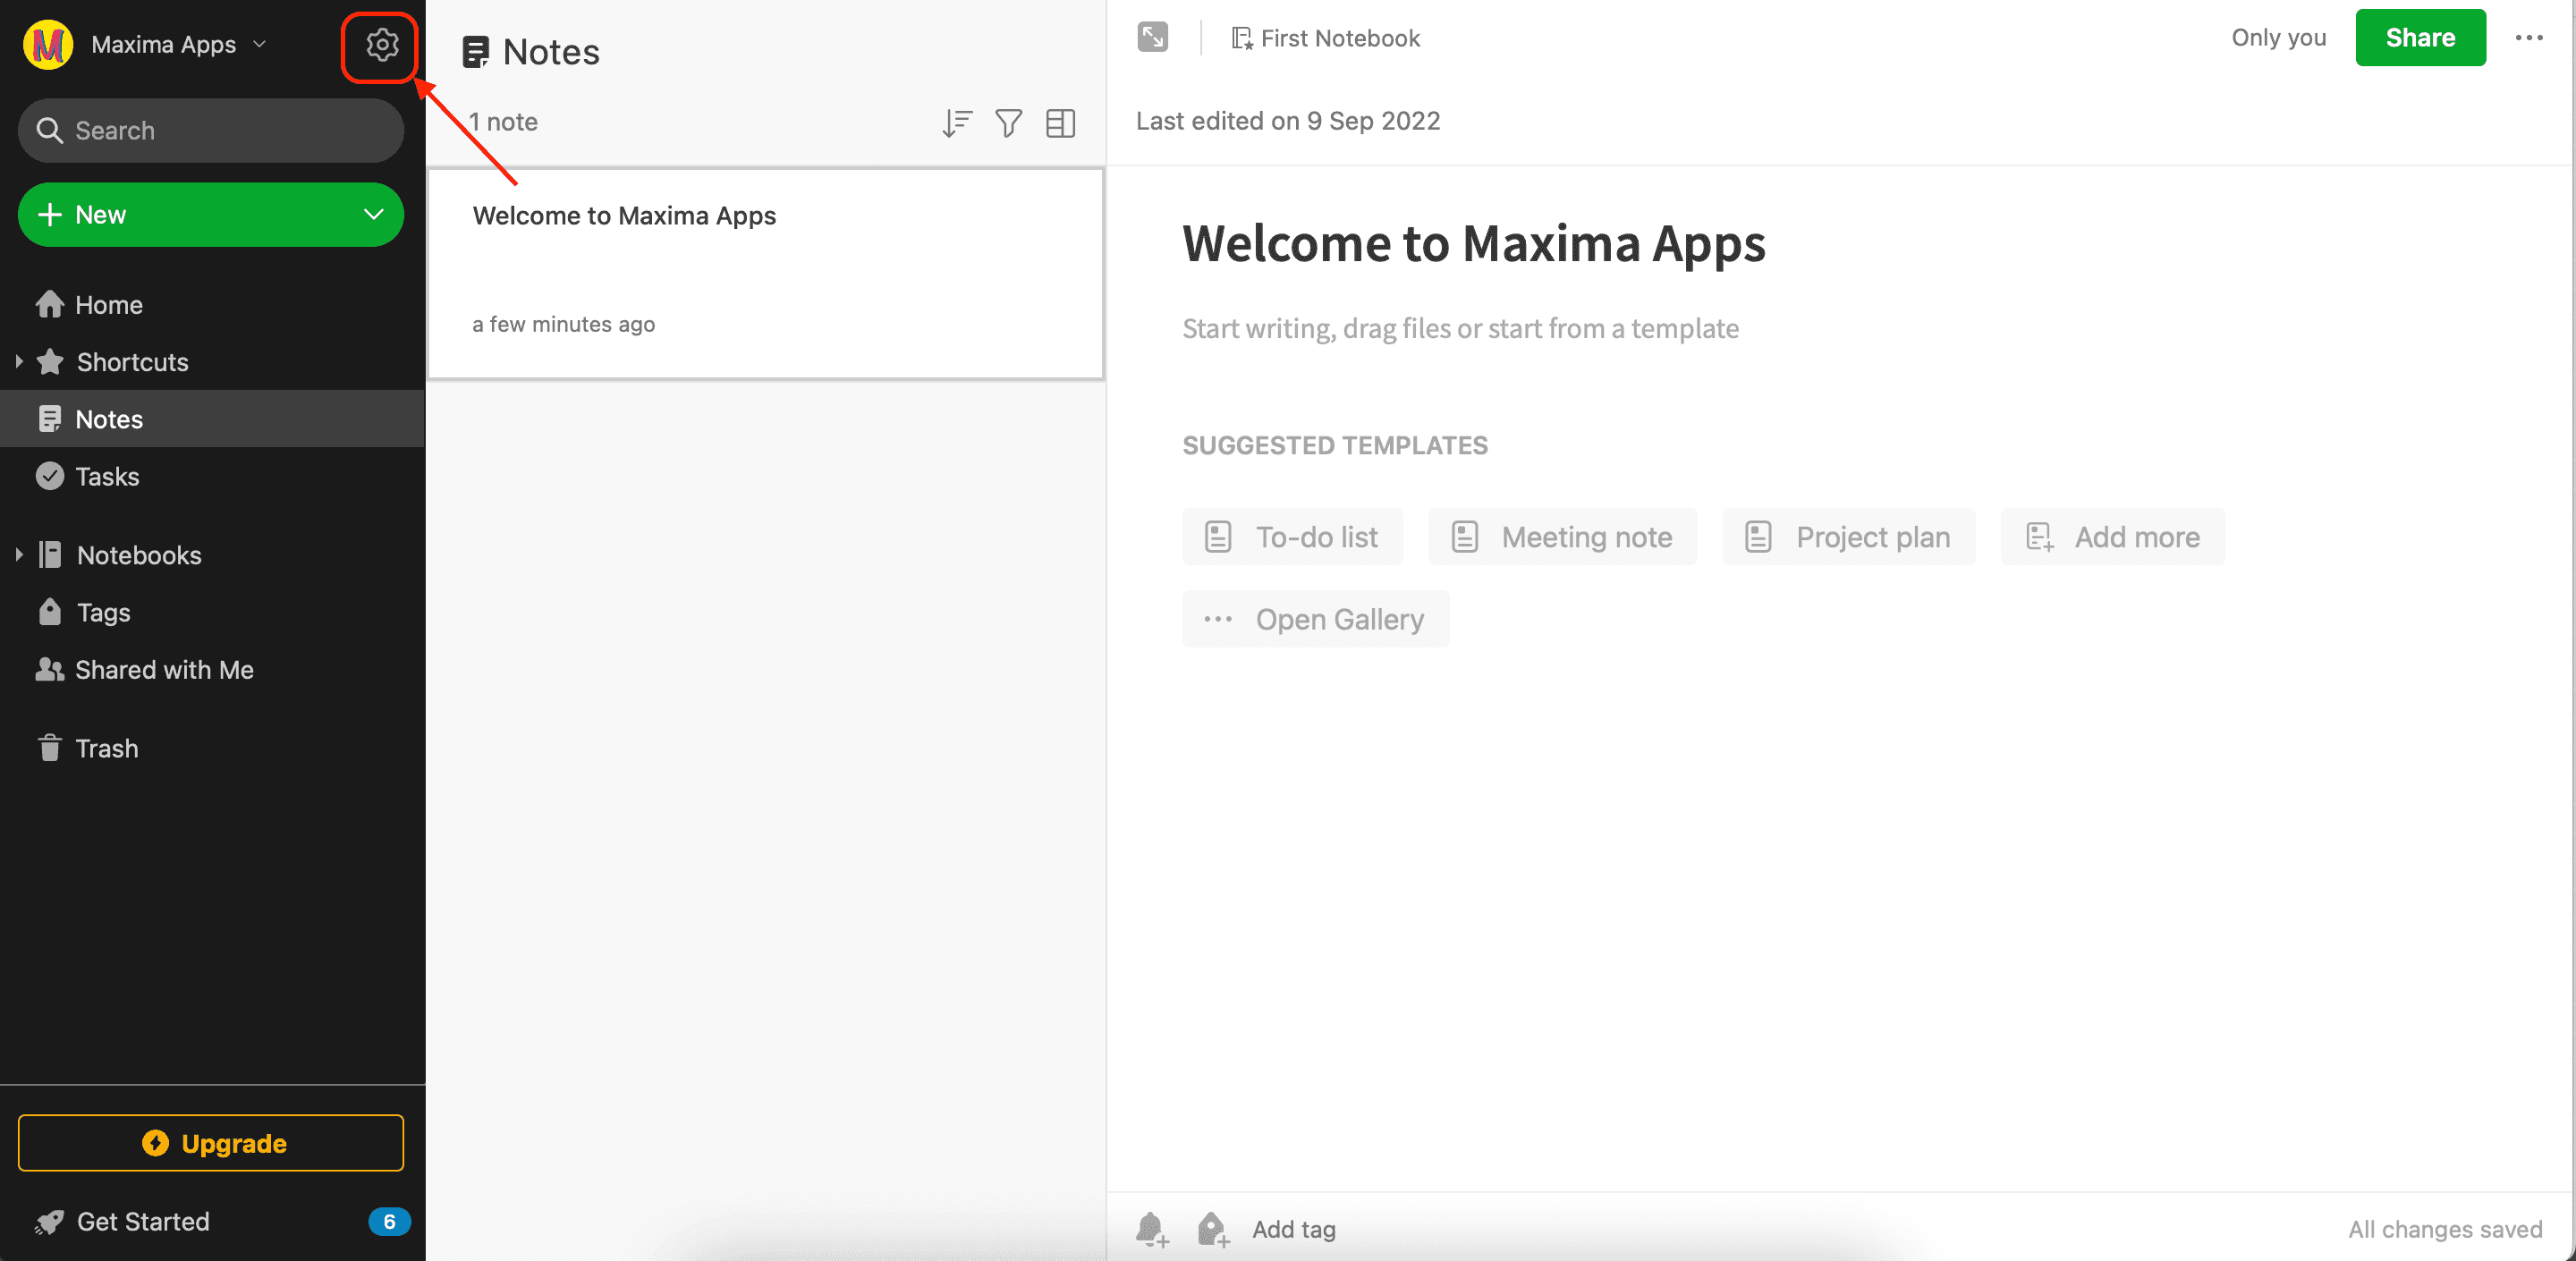
Click on the Setting button on the top left section of the screen.
3
STEP 03
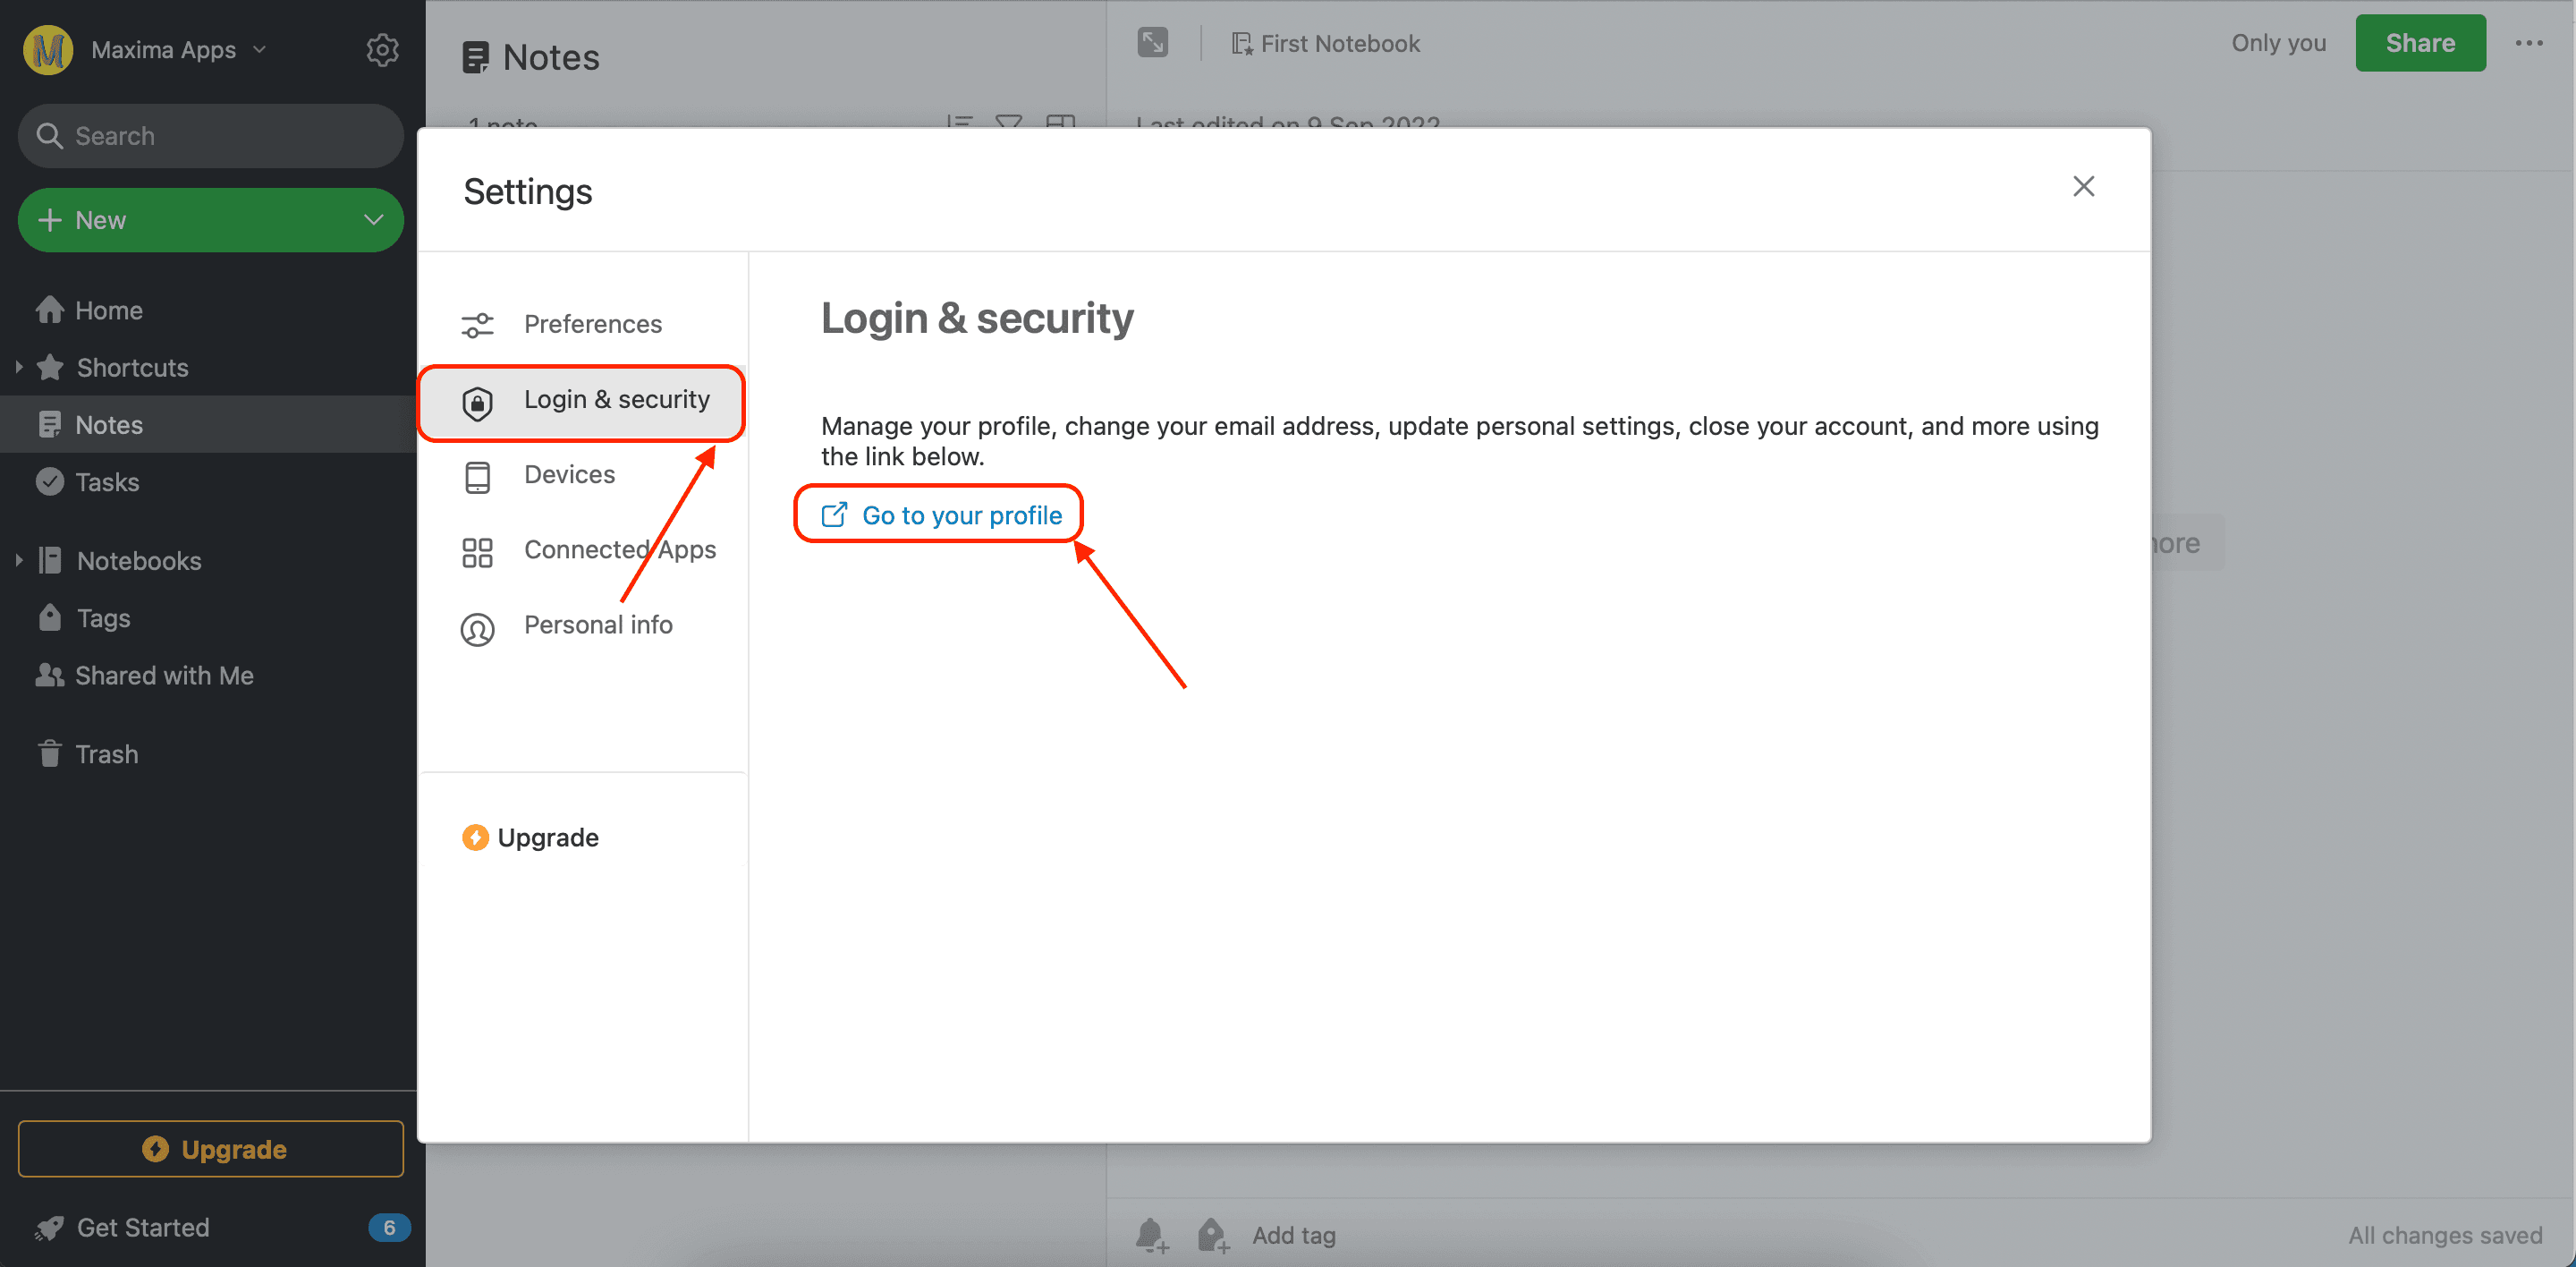
In the settings section, go to "Log in and Security" and click on "Go to your Profile."
4
STEP 04
In the next opened window, enable the Two-Factor Authentication by clicking "Enable."

5
STEP 05
Click on the Continue button on the next two screens.

6
STEP 06
On the next screen, click on "Send Verification Email." You will get a confirmation email from Evernote. Click on the link present in that mail or copy the verification code inside the mail and type it in Evernote, then tap continue.


7
STEP 07
On the next screen, verify your Evernote account by providing one of your mobile numbers. Enter your mobile number, tap on continue, and put in the OTP (which you got on your mobile number) to verify your account.

8
STEP 08
Skip the window of providing an additional phone number (if you want). In the next window of "Optional Google Authenticator," click on the "Continue with iOS/Android" button.

9
STEP 09
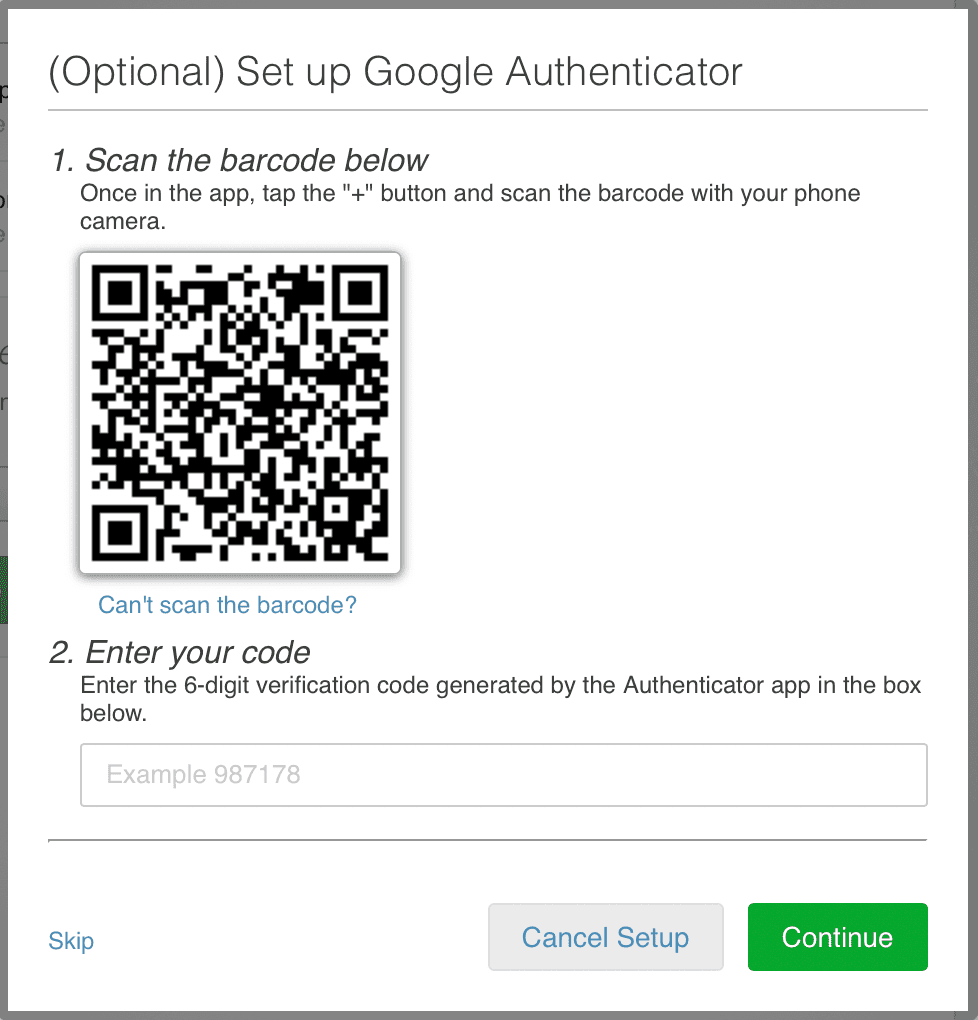
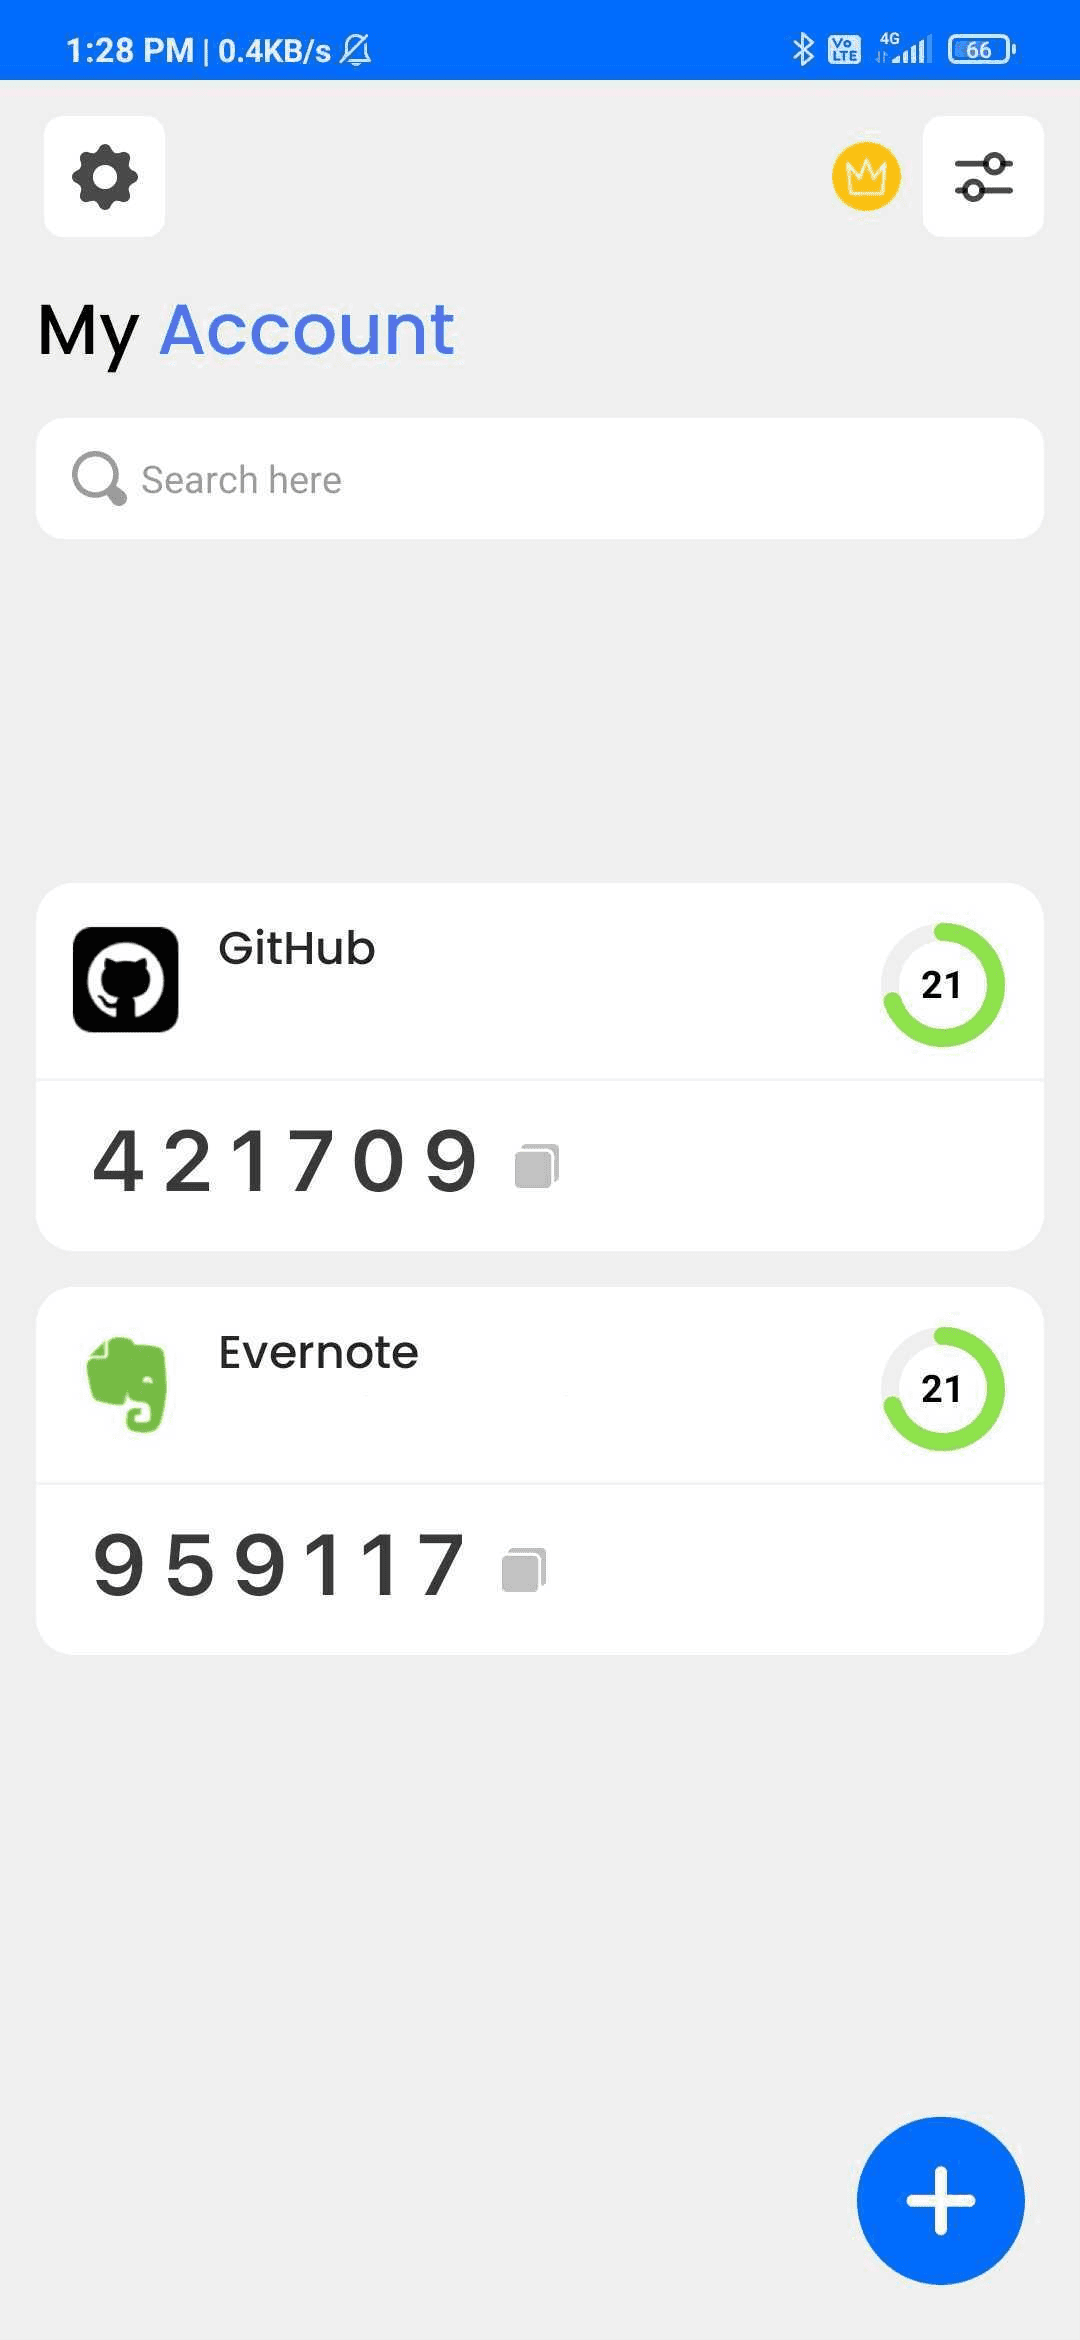
You are now seeing a QR code on your screen. Open the Authenticator App on your phone, click on the "+" button at the bottom of the screen, and scan the QR code on your phone.
10
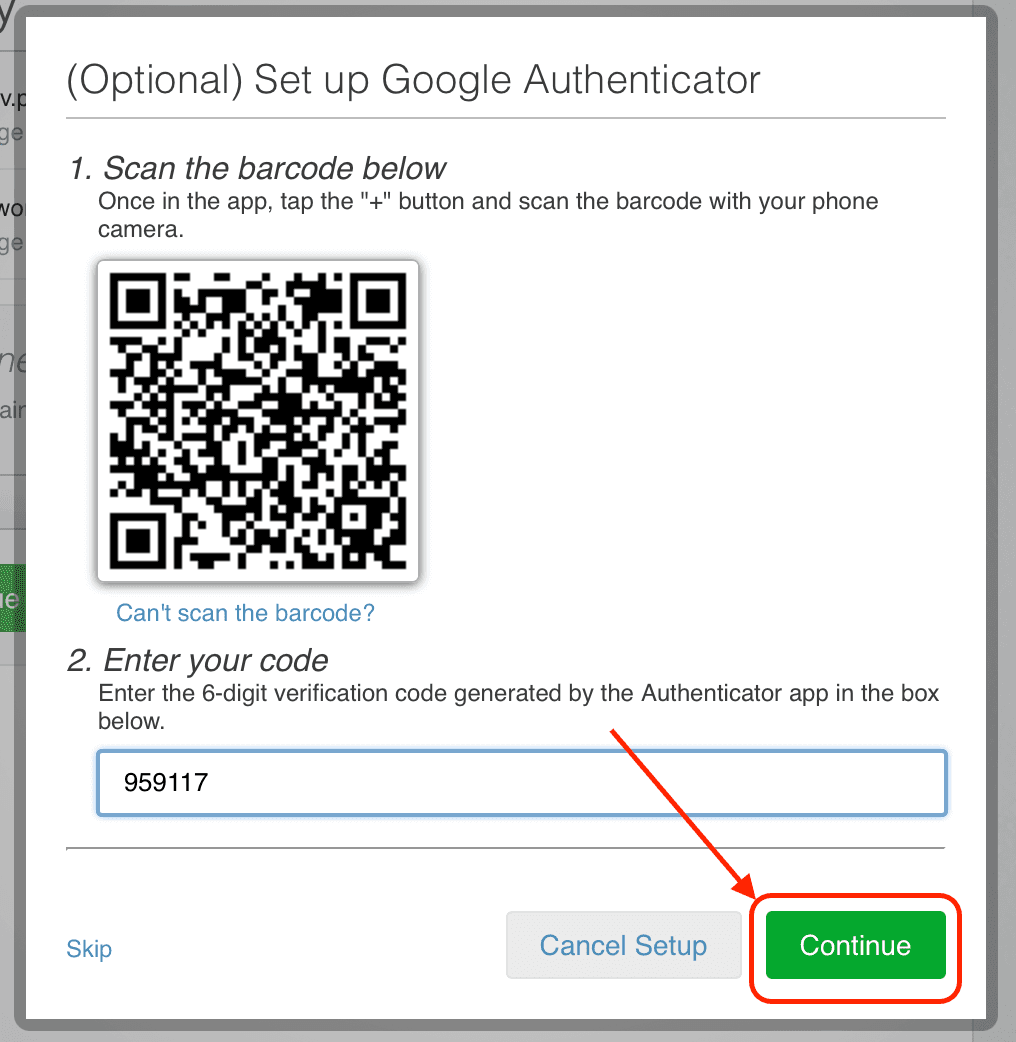
STEP 10
Your Evernote account is now added for authentication in the Authenticator App. Type the authentication code from the Authenticator App into the "Enter your code" field, present below the QR code, and click on continue.
11
STEP 11